You want to install a toilet roll holder, towel rail, shelf or hooks in your tiled bathroom? Here are some suggestion to get things going.
Drilling holes in ceramic wall tile can be a daunting task for many homeowners, but it is not as difficult as it may seem. The first step in this process is to choose the correct drill bit, which should be a carbide-tipped masonry bit. This type of bit is specifically designed to drill through hard materials like ceramic tiles.
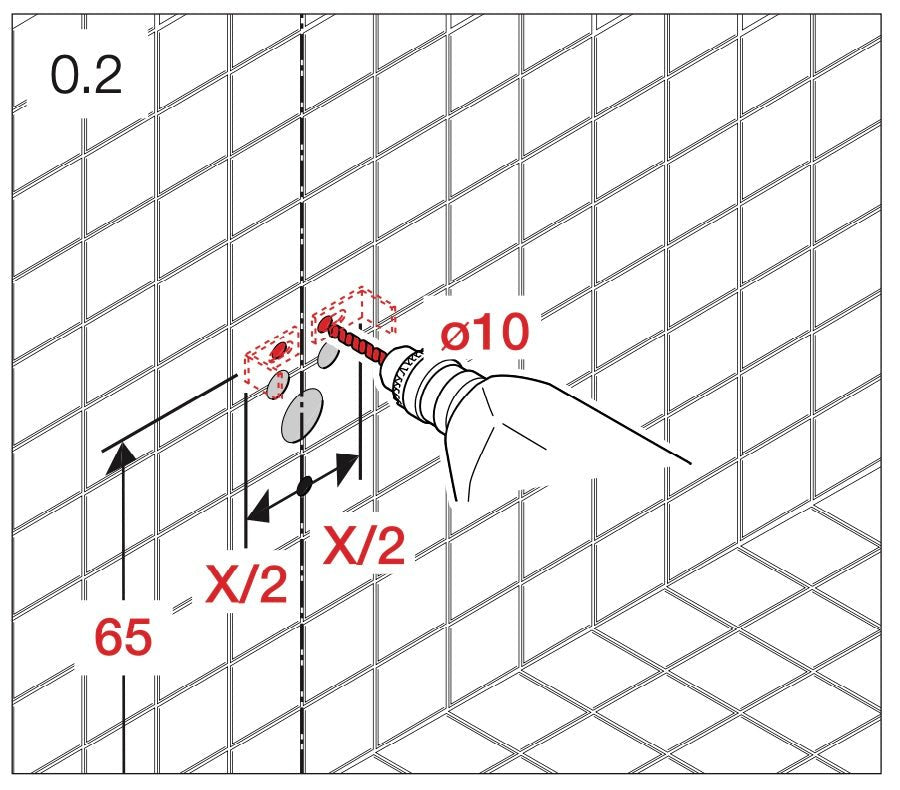
Once you have the correct drill bit, the next step is to mark the spot where you want to drill the hole. Use a pencil or tape to mark the spot and apply a small piece of masking tape over the mark to prevent the drill bit from slipping. This will ensure that the hole is drilled in the correct location and that the tile is not damaged during the drilling process.
When drilling through ceramic wall tile, it is important to use a slow speed and apply gentle pressure. Start drilling at a 45-degree angle, gradually increasing the angle until the bit is perpendicular to the tile. This will help prevent the bit from slipping and scratching the tile surface.
As you drill, make sure to use water or a lubricant to keep the drill bit cool and prevent it from overheating. It is also important to periodically stop drilling to clear any debris from the hole and prevent the bit from becoming clogged.
With a little bit of patience and care, drilling holes in ceramic wall tiles can be done quickly and easily. By following these simple steps, you can create perfectly placed holes that will allow you to securely hang your bathroom accessories.
Bonus Tip 1 - For a NZ wood framed wall ensure there is a stud or nog where your drilling. Use a slightly oversize drill bit to pierce the tiles and then a correctly sized bit to drill into the stud or nog behind. Your fixing screws should pass through the tiles and then screw securely into this stud or nog.
BonusTip 2 - During construction take a picture of the framed wall plus some basic measurements so once the tiles are up you know where to drill.
Bonus Tip 3 - If your faced with a tiled wall but don't know where the framing is then check the other side of the wall using a stud finder.